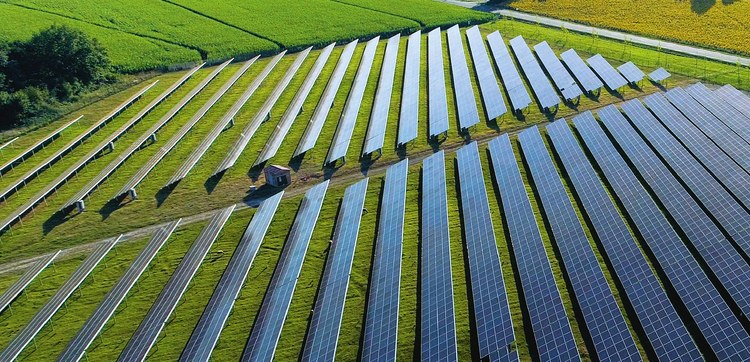
South Africa plans to purchase 2.6GW clean energy project, opened the country's fifth renewable energy bidding window. Between the 2.6GW capacity, 1.6GW are wind energy projects, and the other 1GW are solar project under the South African Renewable Energy Independent Power Producer Procurement Program (REIPPPP).
This plan was launched in August 2020. The tender was issued by the Ministry of Mineral Resources and Energy of South Africa. The deadline for submitting the tender proposal is August 4, 2021.
According to the REIPPPP plan, South Africa plans to release four more bidding projects in the next 12 months. These projects include 2.6GW of renewable energy, 3GW of natural gas, 1.5GW of coal and 513MW of battery energy storage.
Xiamen Kinsend Metal Tech Co,Ltd is a manufacturer specialized in solar mounting systems over 8 years in Xiamen City. Our factory is located in Quanzhou, China, enjoying convenient transportation and beautiful environment.
Since the establishment of the company, specialized in researching, producing and selling the solar mounting system products,with the enterprise tenet “Creative Technology, Excellent Quality” and gives full play to its own strong strength and R & D team ability.
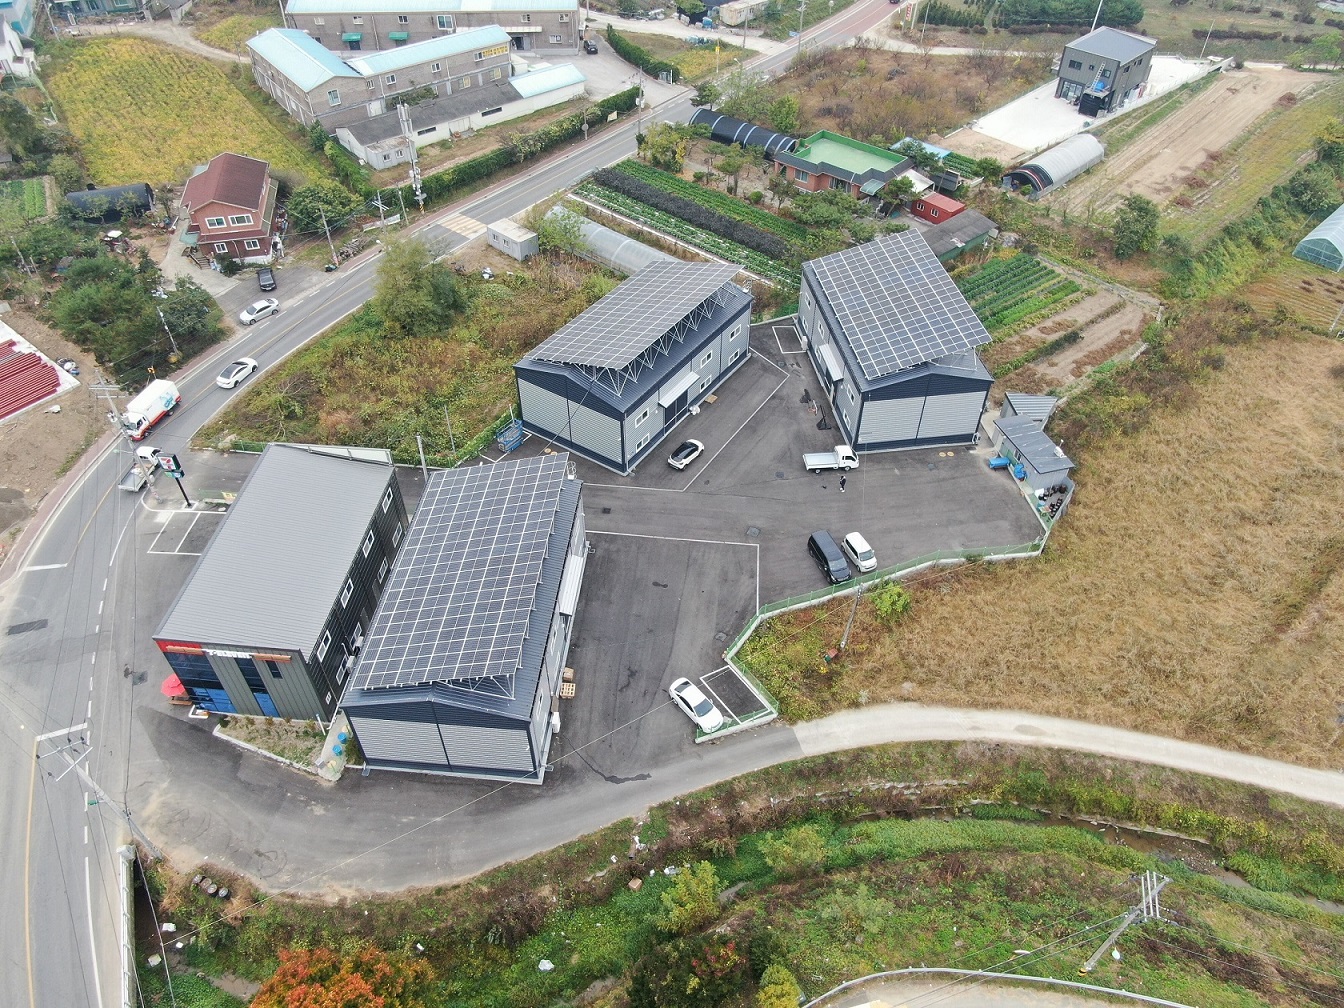
We are manufacturing and supplying a wide range of products from Solar roof mounting systems, ground mounting systems, solar carport systems, greenhouse mounting systems to components which includes ground screws, aluminum clamps, and screw bolts.
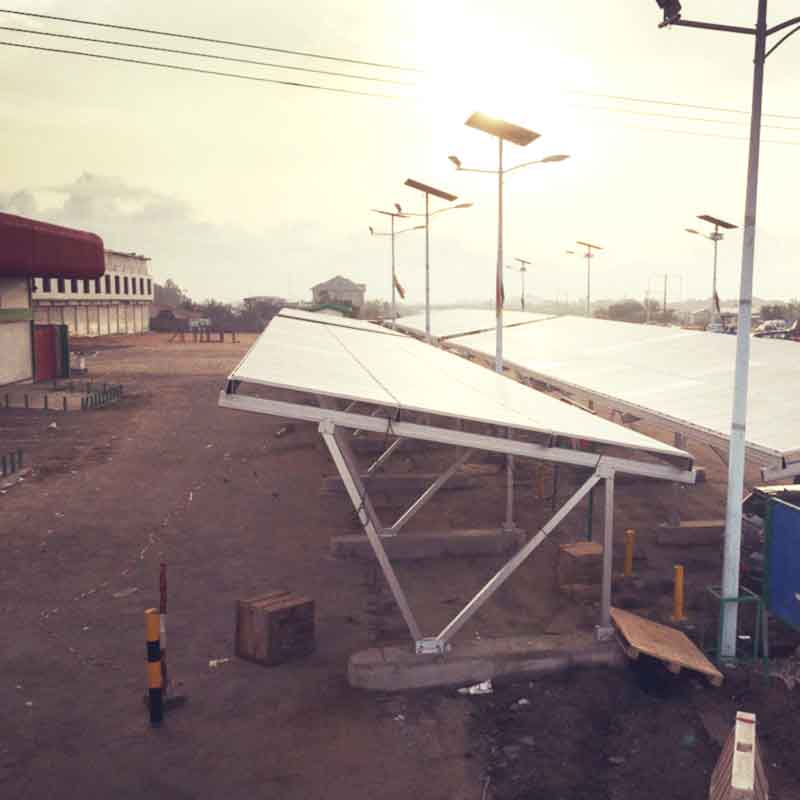
Kinsend was involved as the supplier of solar mounting systems for carport to South Africa, it’s a 3rows portrait array in N shape, used Kinsend AG2 system. The total capacity is about 80kw. The Solar Car Parking System could be applicable for most of the commercial and residential open ground. The material is AL6005-T5, solution was exactly customized as per customer’s requirement. The high strength components could withstand most of the weather conditions.